To draw a pattern for a well fitting bra it starts with taking precise measurements, even more accurate as for other clothing; in a bra every mm counts! To get it right you will need a good quality textile or plastic tape measure. Don’t use an old and worn out tape because it might have gotten stretched and inaccurate over time.
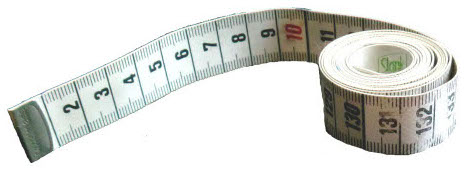
Preferably get someone else to take your measurements because your arms will go up and deform the breasts when you measure by yourself. Stand up straight with your arms down during the measuring because the breasts will deform with your arms up. Exhale while measuring, inhaling expands the chest and you will measure more length than needed. Make sure the tape measure isn’t crooked or doesn’t slide down at the back but will stay level with the floor because a crooked tape will show too much length. Measuring over a thin bra seems to be the best option even when it’s not a completely perfect fit, because measuring over a nude breast will produce a bra with sagging cups.
In the earlier post where I’ve explaned the Merckwaerdigh Method for drafting a bra master pattern I mentioned the 2 different approaches; standard measurements or your own measurements. Let’s start with the easier one in STANDARD MEASUREMENTS.
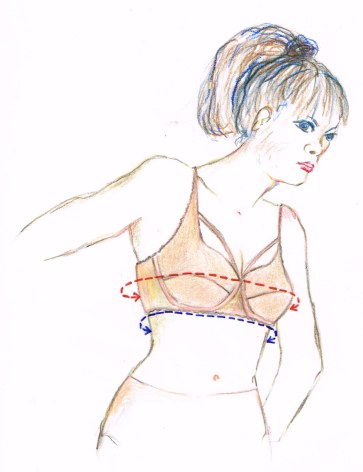
You only need 2 measurements for drafting the master pattern this way;
the underbust (blue line) + the full bust (red line)
Together they will show your standard bra size which you can use for a test bra pattern. You will learn how to adjust the test pattern for a perfect personal fit.
Another approach is for MEASUREMENTS IN YOUR OWN SIZE.
For the band you also need the underbust measurement for the band length +
the full bust measurement for the rounding where the cups are inserted.
For the cup you need the 4 different measurements A – B – C – D, all of them measured from the nipple point (apex) to the letter in the picture.
You will have to measure both breasts separately because most for women the’re not completely equal. The new e-course in the making explanes how to do this and a form is included to make notes of all these different measurements.

This might be a bit of a challenge but that’s not all, people tend to fixate on things that are not symmetrical. Usually uneven breasts are not what you want extra attention for, so it would probably be better to find an average for both cups. Not an easy task but it’s explaned step by step and with the help of your new best friend Mr Calculator I’m sure you will get there in the end!
Something else to consider in the measurement department is the stretch in the fabrics you will use. The Merckwaerdigh Method for bra pattern drafting is specially developed for the use of modern stretch fabrics.
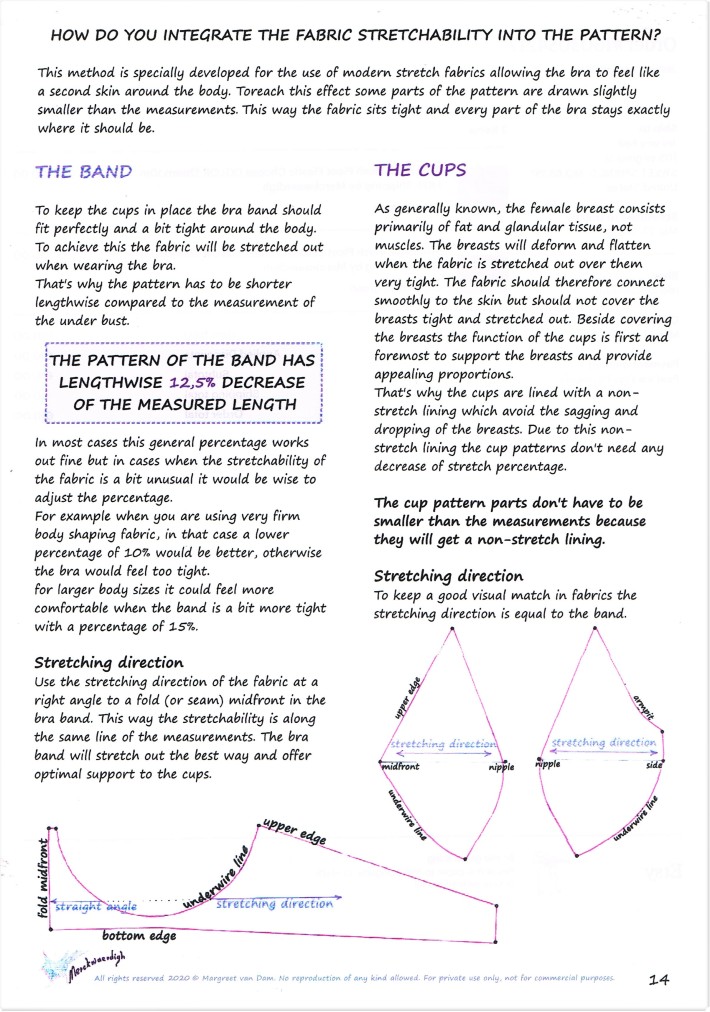
The cups should not stretch because this causes sagging but usually they are made of the same fabric as the band. That’s why they have a NON-stretch cup lining and the stretch of the outer fabric is equal to the band to keep a good visual match.
The band should be pretty tight around the torso to keep the cups in place. To achieve this the fabric will be stretched out when wearing the bra. That’s why the pattern has to be shorter lengthwise compared to the measurement of the under bust.
Since all this applies to any bra making I’ve scanned the whole page of the e-course for you, it can be usefull information untill the new e-corse is finished.
In the meantime ; since 8th of June 2020 the e-course is READY and available in the Merckwaerdigh shop on the Etsy platform!
For an overview of all the Merckwaerdigh internet activities and the button to subcribe to the Merckwaerdigh Newsletter take a look at www.merckwaerdigh.nl

Pingback: How to draft the bra BAND master pattern in YOUR OWN measurements | Merckwaerdigh Blog
Pingback: How to draft the bra CUP master pattern in YOUR OWN measurements | Merckwaerdigh Blog